
A bathroom renovation promises a fresh, functional space, but the do-it-yourself route can quietly rack up expenses that never appear in the original budget. What starts as a weekend project to save money often turns into weeks of delays, damaged materials, and repairs that cost more than hiring help would have in the first place. Understanding where DIY bathroom projects typically go wrong can help you decide when to pick up the tools yourself and when to bring in someone with experience. This article breaks down the most common hidden costs so you can plan realistically before you start swinging a hammer.
Misjudging the Scope of Plumbing Work
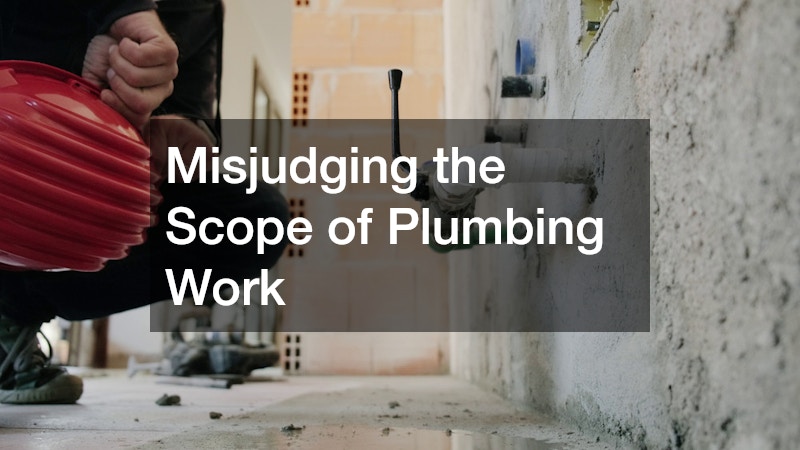
Bathrooms depend on a tangle of supply lines, drain pipes, and vents that are not always visible until walls or floors come open. Many DIYers underestimate how interconnected these systems are, and a simple fixture swap can turn into a full repipe once corrosion or improper slope is discovered. Water damage from a botched connection can spread into subflooring and adjacent rooms, creating repair bills far larger than the original project.
This is one area where calling a plumber early, rather than after something leaks, saves real money. A professional can spot outdated galvanized pipe, insufficient venting, or water pressure issues before they become emergencies. If you are unsure whether your project involves moving a drain line or relocating a toilet, that is a strong signal to get a second opinion before cutting into a wall.
- Rerouting drain or supply lines without proper permits can fail inspection and require redoing work
- Improper pipe slope leads to slow drains and repeated clogging
- Mixing incompatible pipe materials can cause leaks within months
- Water damage often hides behind walls until mold or warping appears
Underestimating Electrical Safety Requirements
Bathrooms require GFCI-protected outlets, proper fixture clearances near water sources, and often dedicated circuits for exhaust fans or heated flooring. DIYers frequently reuse old wiring that does not meet current code, which can pass unnoticed until an inspector flags it or, worse, until it causes a shock hazard. Correcting electrical mistakes after tile and drywall are already installed means tearing out finished work to access the wiring again.
Because electrical shortcuts are one of the least forgiving mistakes in a renovation, many homeowners find it worthwhile to have a licensed electrician verify circuits before closing up walls. This single inspection step can prevent costly rework and keep the space safe for years of daily use.
Choosing the Wrong Flooring for a Wet Environment
Bathroom floors face constant moisture, temperature swings, and foot traffic, which makes material choice critical. Homeowners sometimes select flooring based on appearance alone, only to discover later that it warps, stains, or becomes slippery when wet. A qualified flooring contractor can help match the right product to the specific humidity and usage patterns of your bathroom, which prevents an expensive redo within a year or two.
Many homeowners are turning to luxury vinyl planks for bathrooms because they resist water better than traditional hardwood while still offering a realistic wood look. However, even vinyl flooring needs proper subfloor preparation and sealing at the edges, and skipping this step is a common DIY mistake that leads to lifting or buckling seams.
- Porous natural stone requires sealing that many DIYers forget or apply incorrectly
- Uneven subfloors cause tiles to crack under weight over time
- Poor grout curing time often leads to premature cracking near the tub or shower
- Incorrect underlayment can trap moisture beneath the new floor
Overlooking the Complexity of Tile Installation
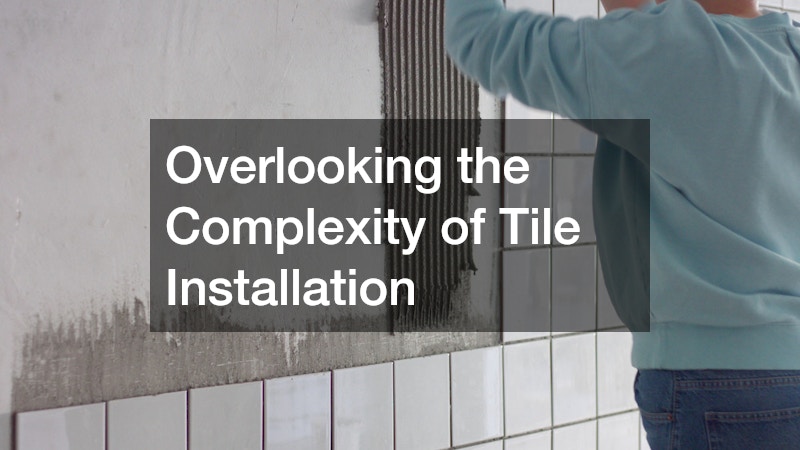
Tile work looks straightforward in online tutorials, but achieving level, properly spaced, and waterproofed tile takes practice most first-time renovators do not have. Uneven tiles or improperly mixed thinset can lead to cracking, while insufficient waterproofing behind shower tile invites hidden water damage that surfaces months later as musty odors or soft drywall. Fixing these issues typically means removing the tile entirely and starting over, doubling the material and labor cost.
Visiting a local tile store before you begin can help you understand which products are appropriate for wet areas versus dry ones, and staff can often walk you through waterproofing membrane requirements. Getting this guidance upfront is far cheaper than paying to redo an entire shower surround after a failed installation.
Skipping Proper Ventilation Planning
A bathroom without adequate ventilation traps moisture in the air, which condenses on walls, ceilings, and mirrors, eventually leading to mold growth and peeling paint. DIYers often reuse an undersized exhaust fan or fail to vent it properly to the exterior, venting warm moist air into the attic instead. Over time, this mistake can rot roof sheathing and require repairs far outside the bathroom itself.
Fan sizing should be based on the square footage of the room, and ductwork needs a straight, insulated path to an exterior vent whenever possible. Taking time to plan ventilation correctly during demolition, rather than as an afterthought, prevents moisture problems that are expensive and disruptive to fix later.
- Choose a fan rated for the room square footage, not just the cheapest option
- Insulate ductwork running through unheated attic spaces
- Vent exhaust air outside, never into the attic or soffit
- Clean fan housings regularly to maintain airflow efficiency
Damaging Surfaces During Countertop Installation
Bathroom vanities often feature stone or engineered surfaces that require precise measurements and careful handling during installation. A slight miscalculation in cutting or leveling can crack the material or leave gaps around sinks and backsplashes, which then require costly replacement. Because these surfaces are heavy and unforgiving of mistakes, many homeowners find that ordering a custom countertop through a fabricator who handles measuring and installation avoids the guesswork entirely.
Attempting to install a large stone slab without the right tools, such as suction cups and a second set of hands, also raises the risk of injury and damage to surrounding cabinetry. Even seemingly minor errors, like not sealing seams properly, can lead to water seeping underneath and warping the cabinet base below.
Painting Over Moisture and Prep Issues
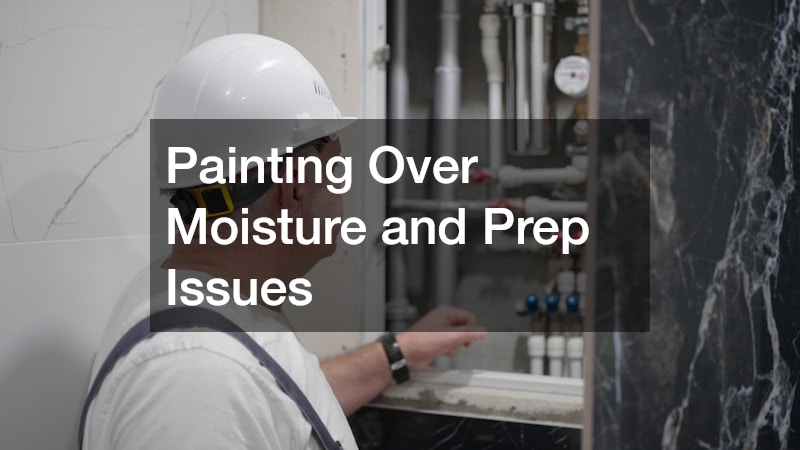
Bathroom walls need paint formulated to resist mildew and humidity, but many DIYers use leftover paint from other rooms that is not rated for wet environments. Skipping proper priming or failing to address existing moisture damage before painting often results in peeling, bubbling, or mold returning within months. This means paying for materials and labor twice, once for the failed attempt and again for the correct job.
A local painter familiar with bathroom-specific products can recommend the right sheen and moisture-resistant formula for your climate and ventilation setup. Getting this right the first time protects your walls and saves you from repeated touch-ups that add up over a renovation’s lifespan.
Improperly Installing or Connecting New Appliances
Modern bathrooms increasingly include appliances like heated towel racks, in-floor heating systems, or smart exhaust fans that require both electrical and sometimes plumbing knowledge to install correctly. Unlike a simple fixture swap, these appliances often need dedicated circuits, GFCI protection, or precise clearance from tubs and showers to meet safety codes. Skipping these steps might not cause immediate problems, but it sets the stage for issues that surface months or years later.
Connecting these without following manufacturer specifications can void warranties or create safety hazards, particularly when appliances are wired near water sources. For example, an in-floor heating system installed without the required ground-fault circuit interrupter can pose a serious shock risk, while a towel warmer mounted too close to a shower may violate local electrical codes entirely. Even small errors, like using the wrong gauge wire or failing to properly seal a junction box, can lead to corrosion, shorts, or fire hazards over time.
Appliance Warranties
Many homeowners discover too late that a return or warranty claim is denied because installation was not performed to code. Manufacturers frequently require proof of licensed installation, sometimes down to a signed permit or inspection report, before honoring any warranty on parts or labor. When that documentation doesn’t exist, homeowners are left covering the full cost of replacement appliances and repairs out of pocket, often totaling hundreds or even thousands of dollars more than a professional installation would have cost upfront.
Reading manufacturer guidelines closely and confirming clearances from tubs and showers can prevent many of these problems. Most appliances specify minimum distances from water sources, weight-bearing requirements for wall-mounted units, and particular torque settings for connections that, if ignored, can void coverage immediately. Still, complex installations involving gas lines, dedicated electrical circuits, or main water shutoffs are often best left to someone with direct experience and the right permits.
The cost of a professional connection, typically a few hundred dollars, is usually small compared to replacing a damaged appliance or losing warranty coverage entirely. A high-efficiency toilet or smart shower system can run $500 to $1,500, and manufacturers routinely deny warranty claims once they discover a DIY installation was involved. Factor in potential water damage repairs, and a modest labor fee starts to look like the cheapest part of the entire project.
Ignoring Structural and Waterproofing Details Behind Walls
Beyond visible finishes, bathrooms rely on proper waterproof membranes, correctly sloped shower pans, and adequately supported subfloors to prevent long-term damage. DIYers often rush past these hidden details because they are not visible in the finished result, but their absence can lead to rot, mold, and structural weakening within a few years. Once these problems surface, repairs typically require demolishing recently completed work to access the damage.
Consulting with an experienced local bathroom remodeler during the planning phase, even if you plan to do some work yourself, can help you identify which structural steps are non-negotiable. This kind of guidance is particularly valuable for showers, tub surrounds, and any area where water exposure is constant.
- Confirm shower pan slope directs water toward the drain, not toward walls
- Use a waterproofing membrane rated for continuous wet exposure
- Reinforce subfloor framing before installing heavy tile or stone
- Address any signs of existing rot before closing up walls again
Facing Permit and Inspection Setbacks
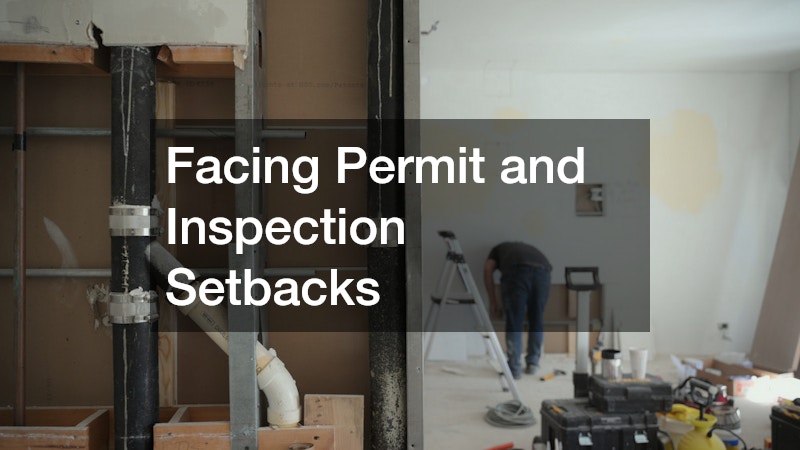
Many homeowners are surprised to learn that bathroom renovations involving plumbing, electrical, or structural changes typically require permits and inspections. Moving a toilet, relocating a shower drain, adding a new circuit for a heated floor, or knocking out a wall for a larger layout are all examples of work that most municipalities require to be permitted, even in a modest-sized bathroom.
The permitting timeline itself can also catch DIYers off guard. Depending on your municipality, plan review and scheduling an inspector’s visit can add anywhere from a few days to several weeks to a project, and failing an inspection means paying for a re-inspection and reworking the job before you can move forward.
Coordinating with local plumbers and electricians who are familiar with your area’s code requirements can streamline this process considerably. A licensed plumber, for instance, often knows exactly which fixtures, venting configurations, and shutoff valve placements local inspectors expect to see, which can help you pass on the first try instead of facing costly delays and rework.
Delaying Inevitable Problems
Skipping the permit process might save a few hundred dollars upfront, but it often creates far bigger problems down the road. Most municipalities require permits for plumbing relocations, electrical work, and structural changes, and inspectors typically need to sign off at specific stages—rough-in plumbing and electrical before drywall goes up, then a final inspection once everything is complete. Scheduling inspections at these right stages, such as before walls are closed, prevents the frustrating and expensive scenario of reopening finished surfaces to expose work that should have been checked earlier.
DIY bathroom remodeling can be a rewarding way to save money and personalize your space, but the hidden costs of rushed decisions or missed details often outweigh the initial savings. Before you begin demolition, take time to research materials, understand code requirements, and identify which tasks genuinely fit your skill level. Bringing in professional guidance for plumbing, electrical, or structural questions early in the process is far less expensive than fixing mistakes after the fact. With careful planning and a realistic view of your own limits, you can create a bathroom that looks great and holds up for years to come.